01
Start with the site
Create a project, add the site context and brief, then keep the inspection workflow together from the start.
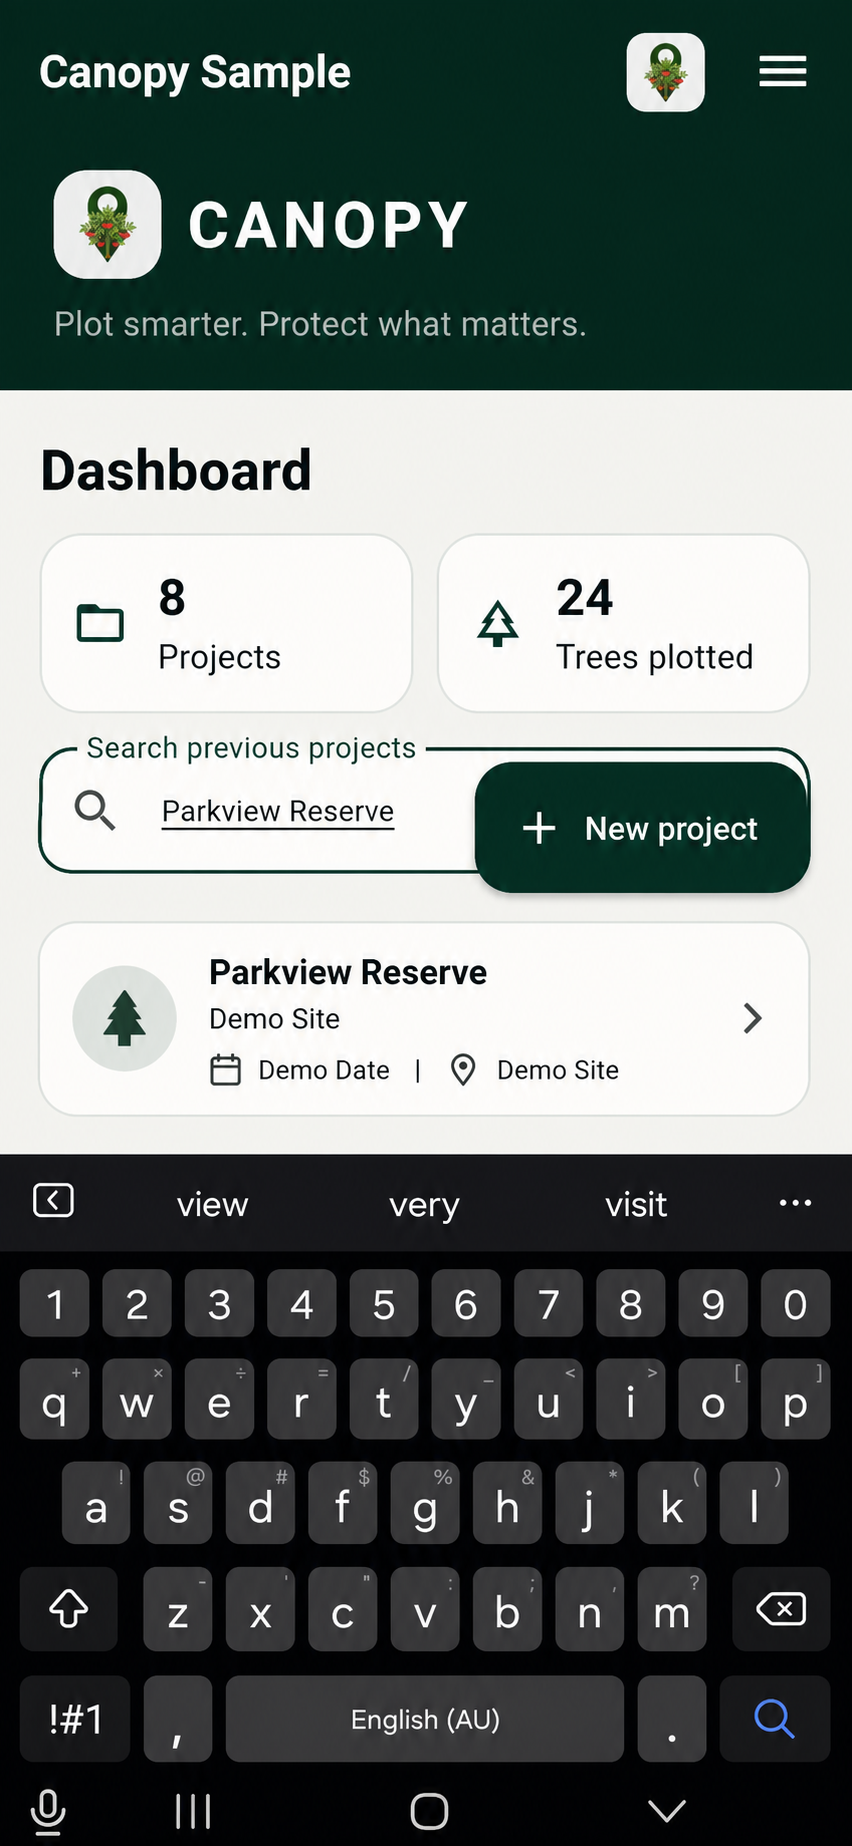
How to use Canopy
Canopy keeps the practical rhythm of arboriculture intact: observe, record, map, explain.
Create a project, add the site context and brief, then keep the inspection workflow together from the start.
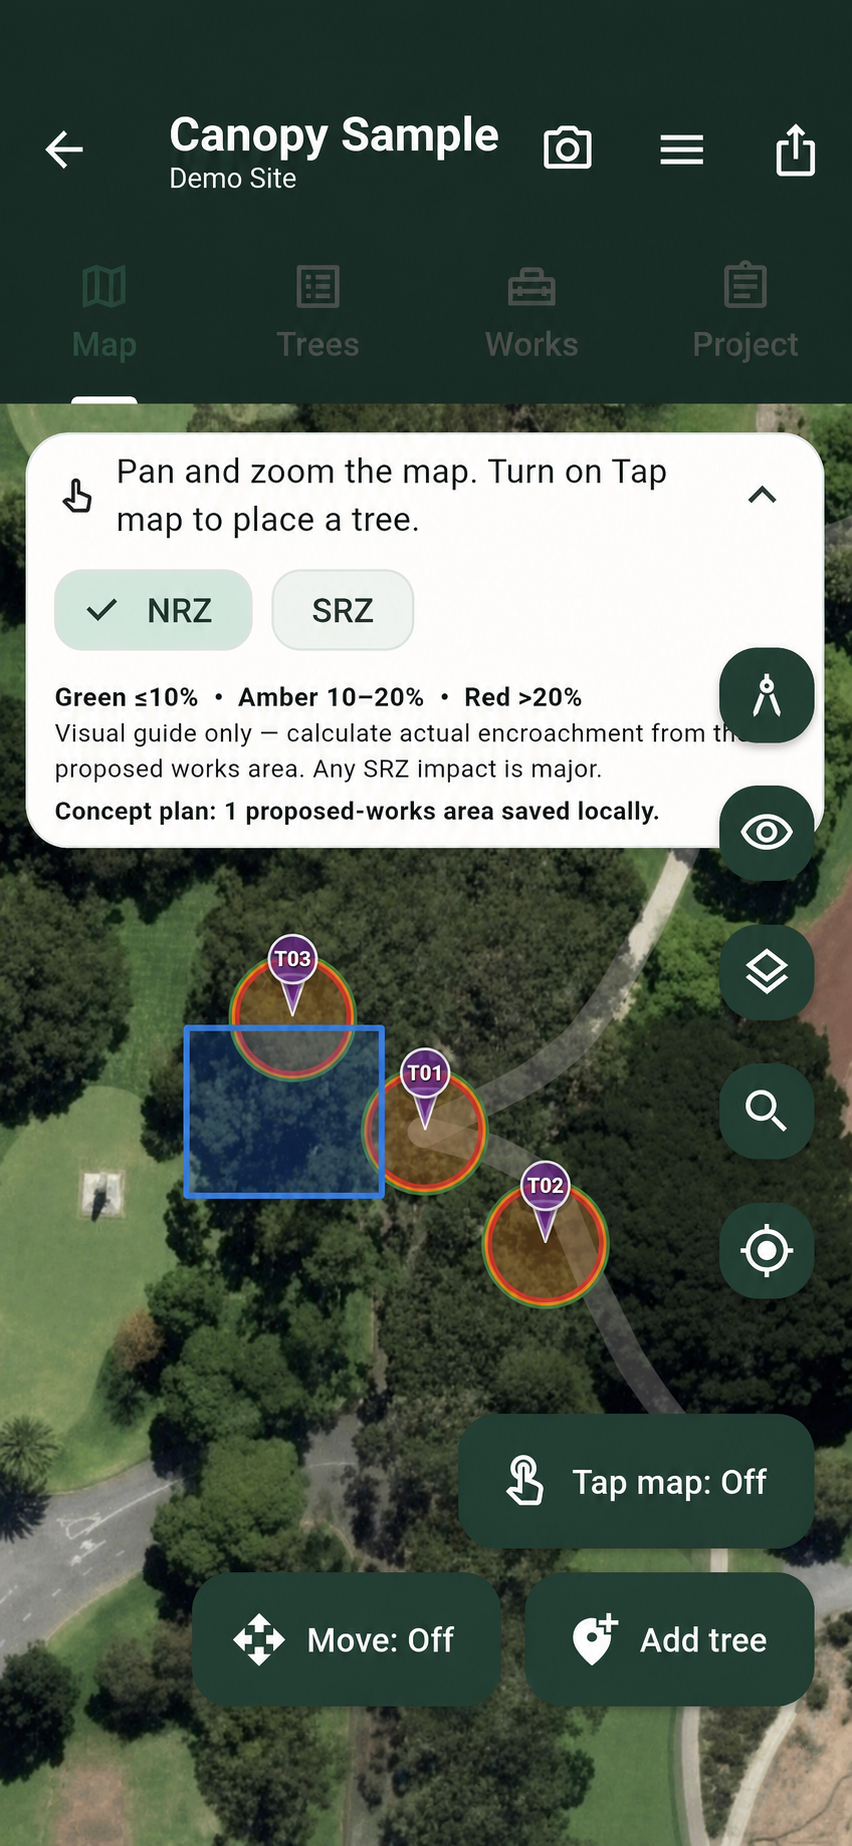
Use the map to place trees, record species and condition, add photos and notes, and see the site as it changes beneath your feet.
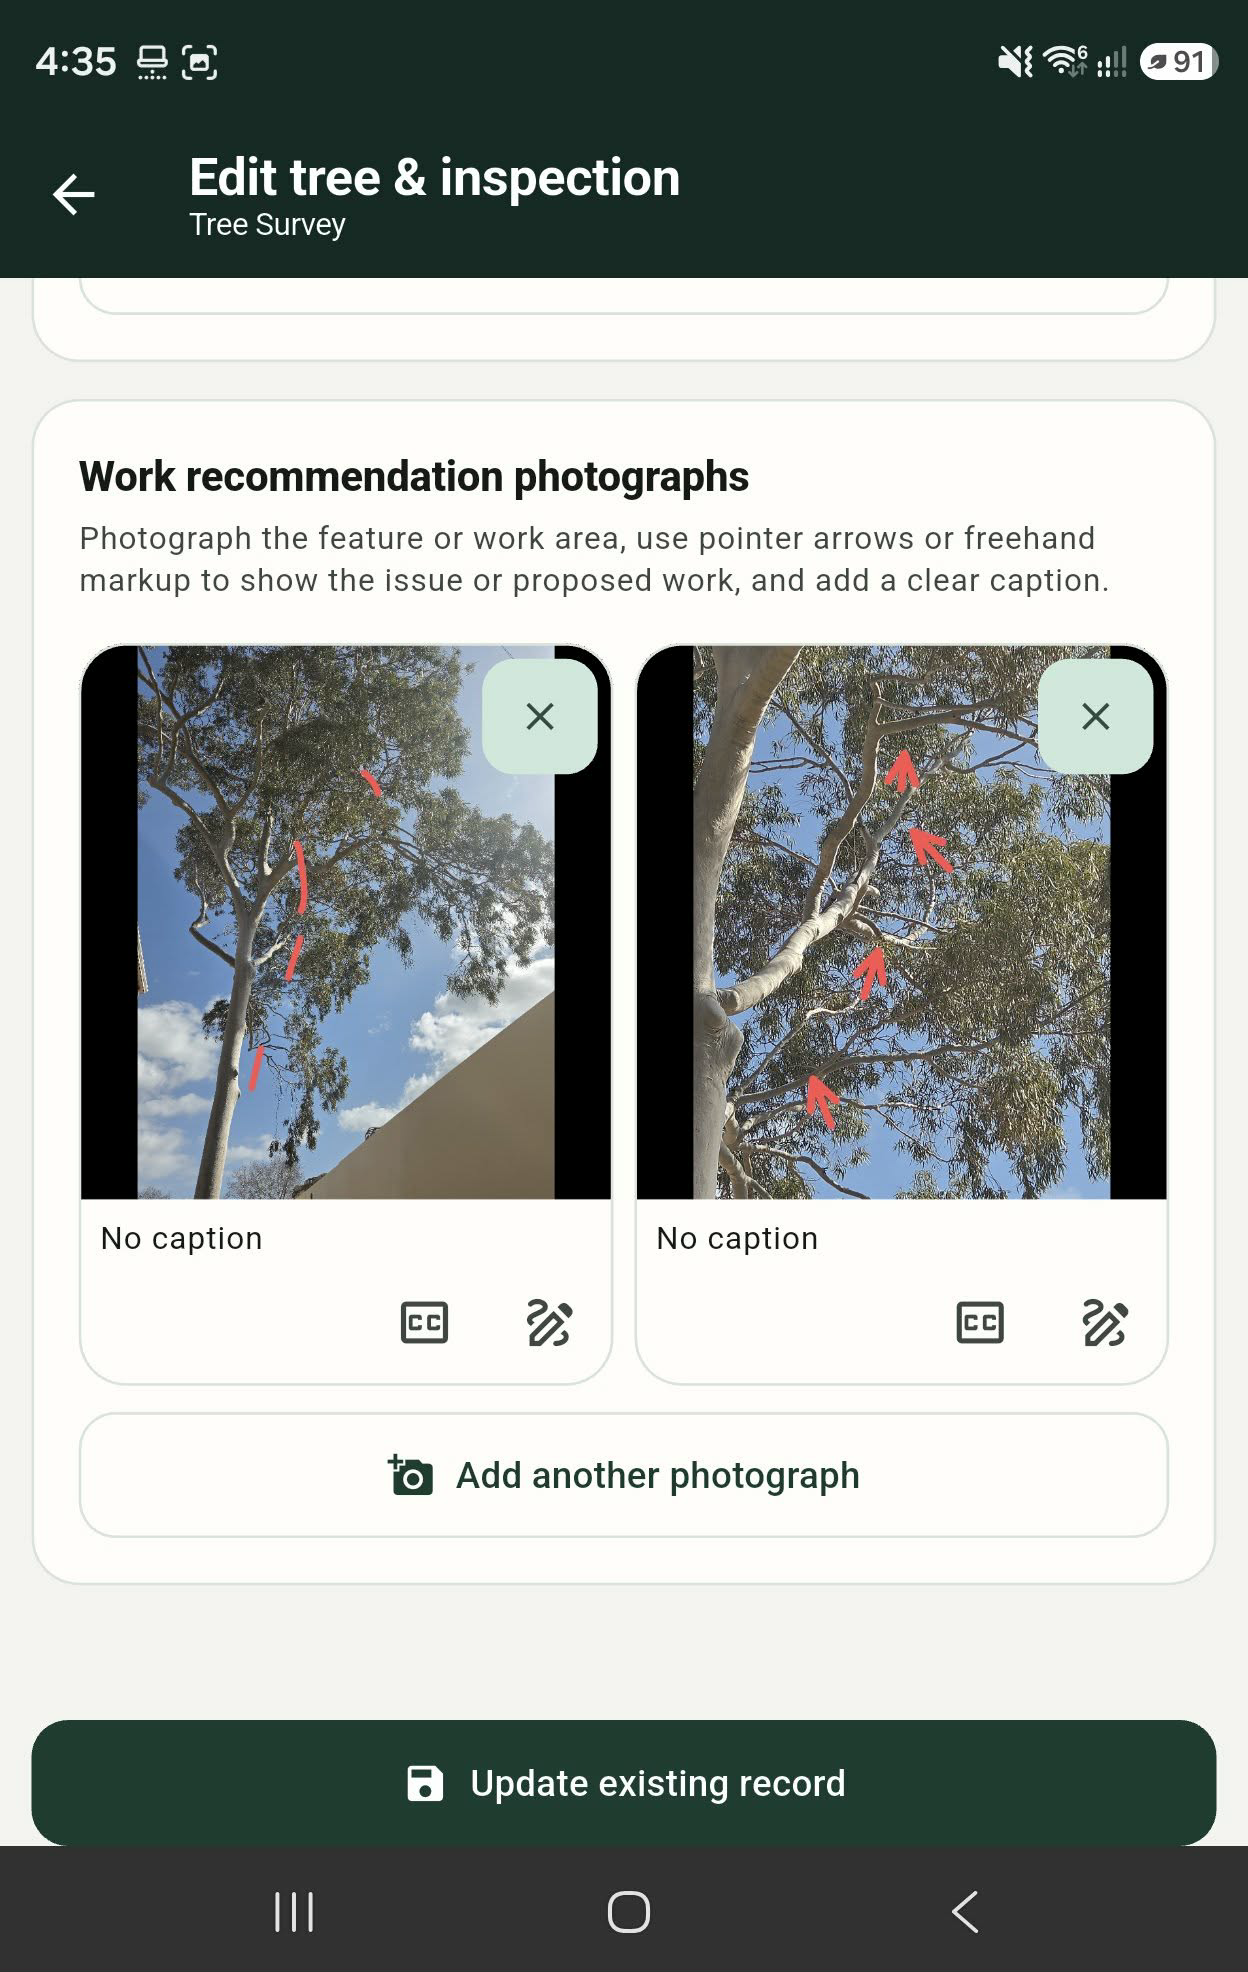
Open the tree record, photograph the feature or work area, mark up pruning recommendations on the photo, and add a caption before carrying the reasoning into a clear report.
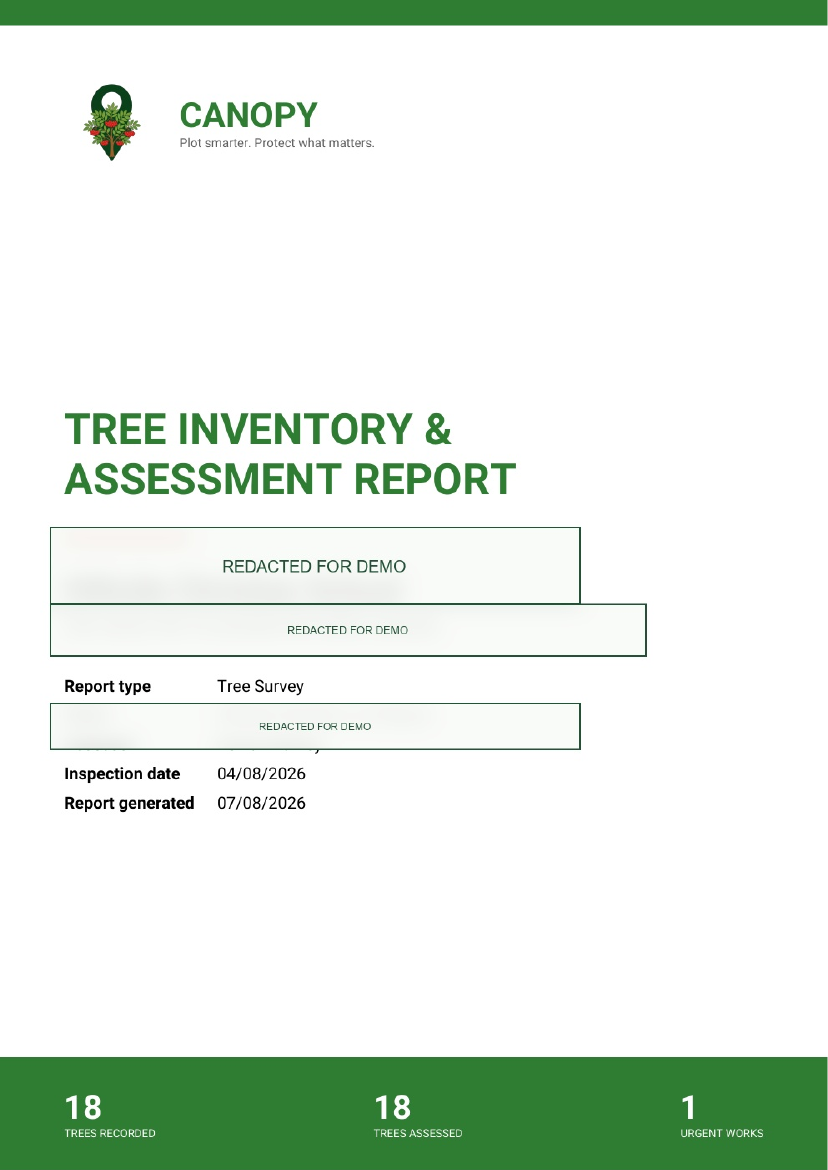
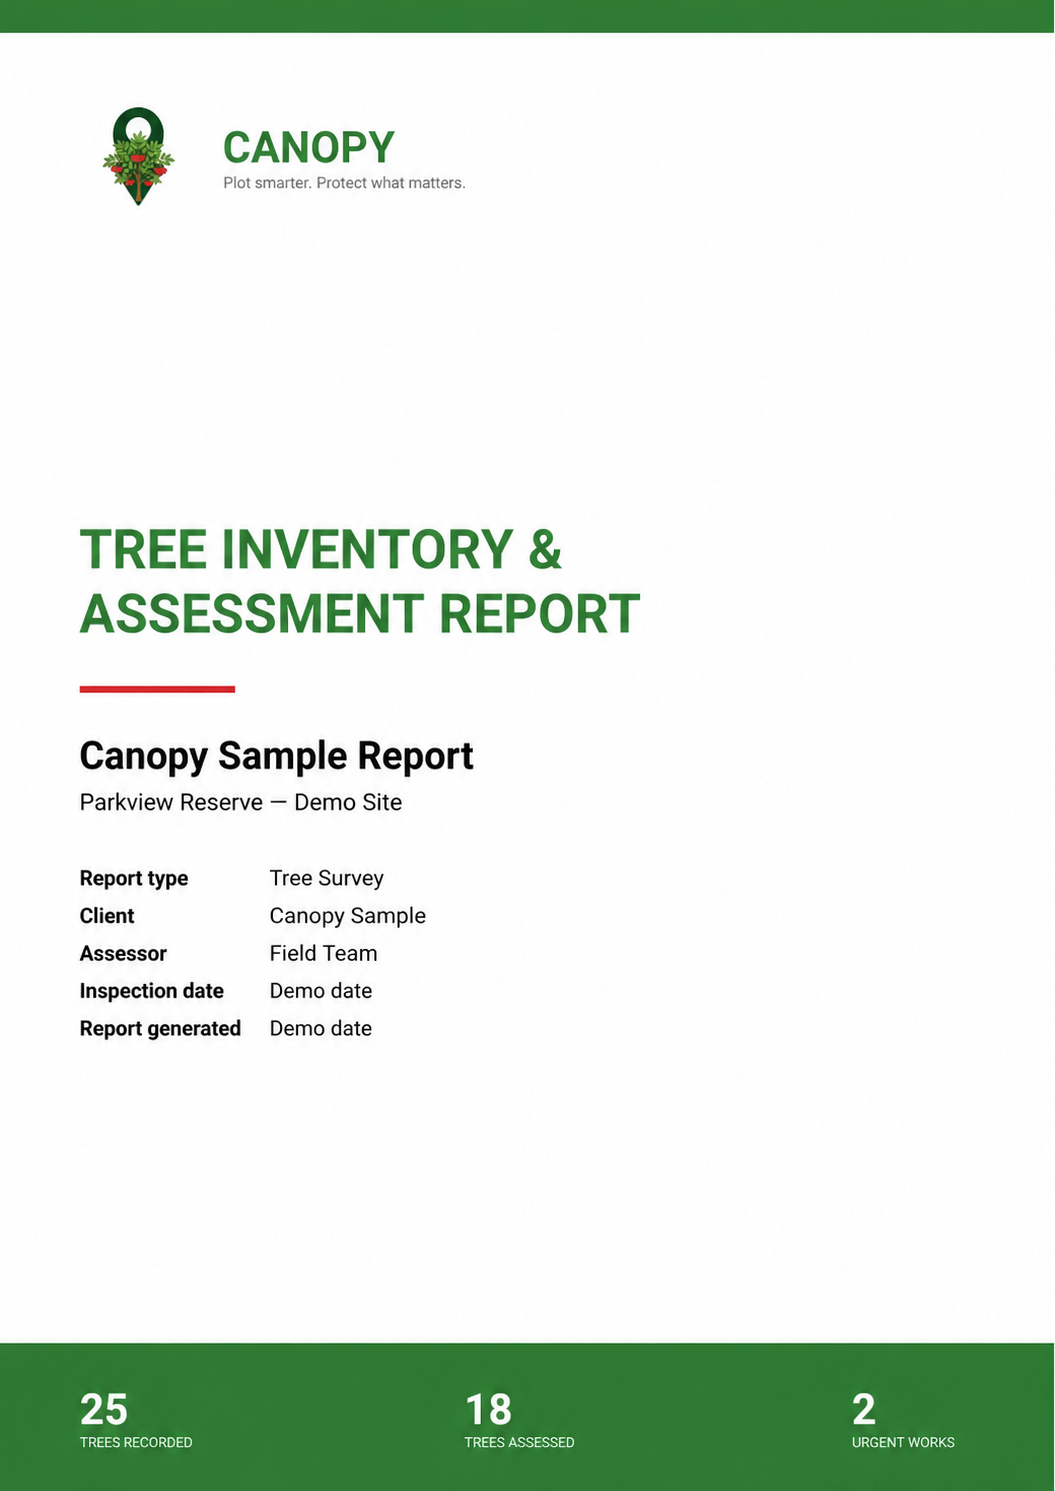
When the fieldwork is complete, open the project report tools to review the tree schedule, photographs, recommendations, priorities and inspection history before generating the PDF.
Create a fitted map showing every plotted tree and visible drawing, with the north indicator and a key listing each tree's common and botanical name. AIA projects can include the approximate encroachment percentage where shapes are present.
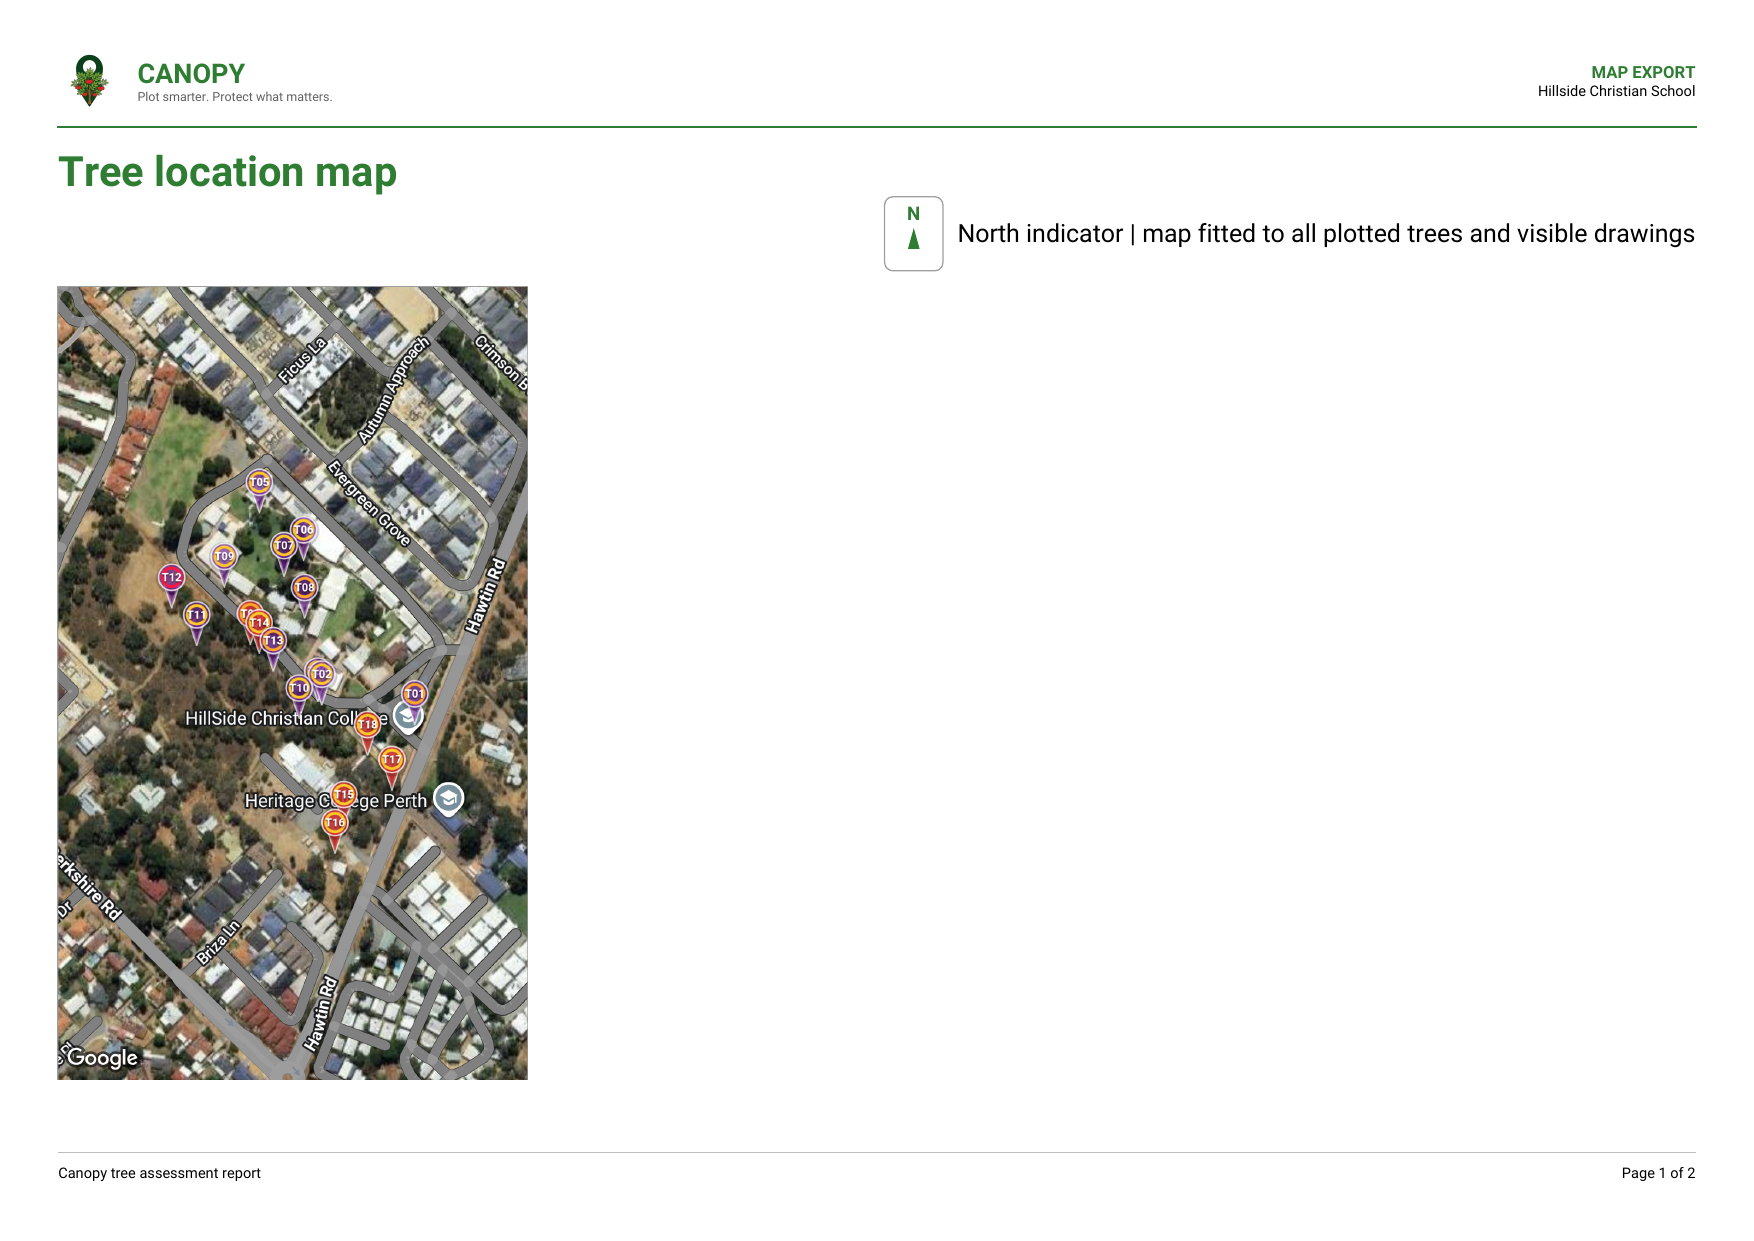
Use the in-app preview to check the report or map before saving it locally, opening it in Drive, or sharing the finished output with a client. The same project remains available for future inspections.
Built for the field
Canopy is available on Google Play for the moments when your hands are busy and the details still matter.